
· Adam Rizzo
How to use a wrist roller, step by step
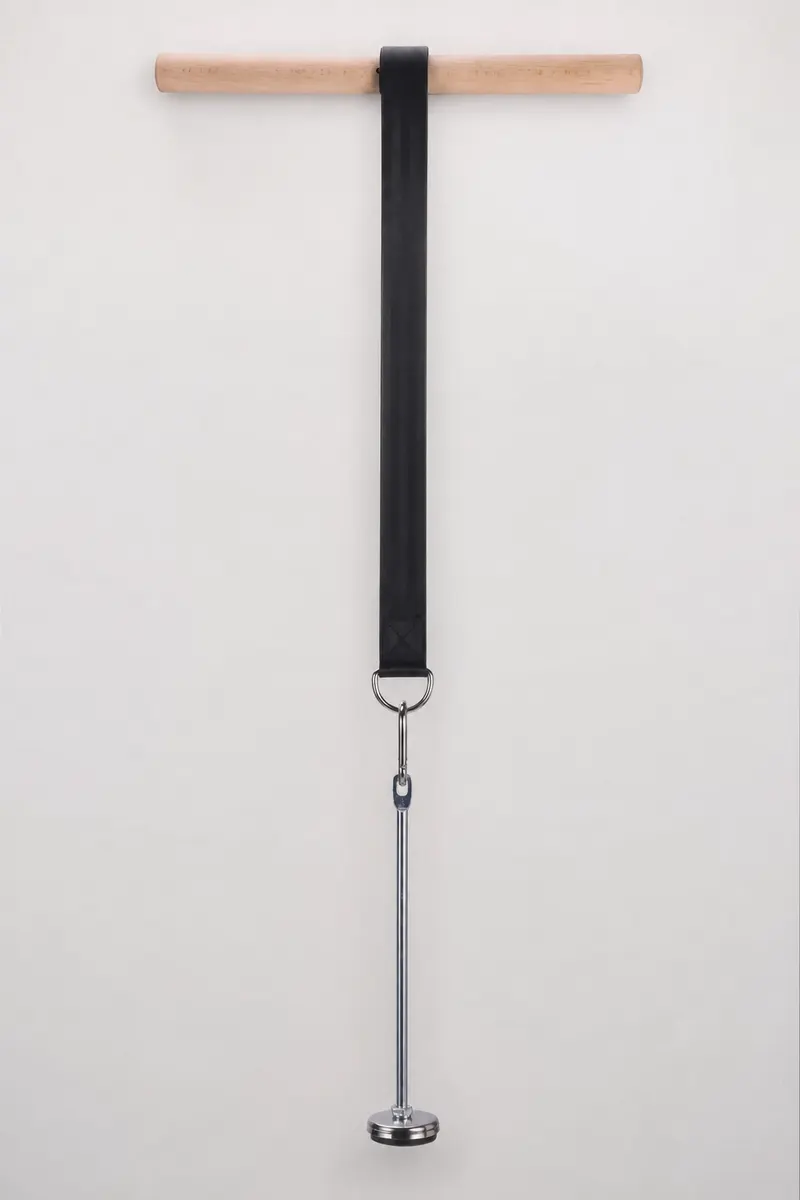
That is the whole movement, and it still manages to go wrong in half the gym videos you will find. The difference between a set that torches your forearms and a set that mostly works your patience comes down to grip, position and lowering speed. Here is the complete walkthrough, as we teach it with the Gripwood roller.
Step 1: set up your load
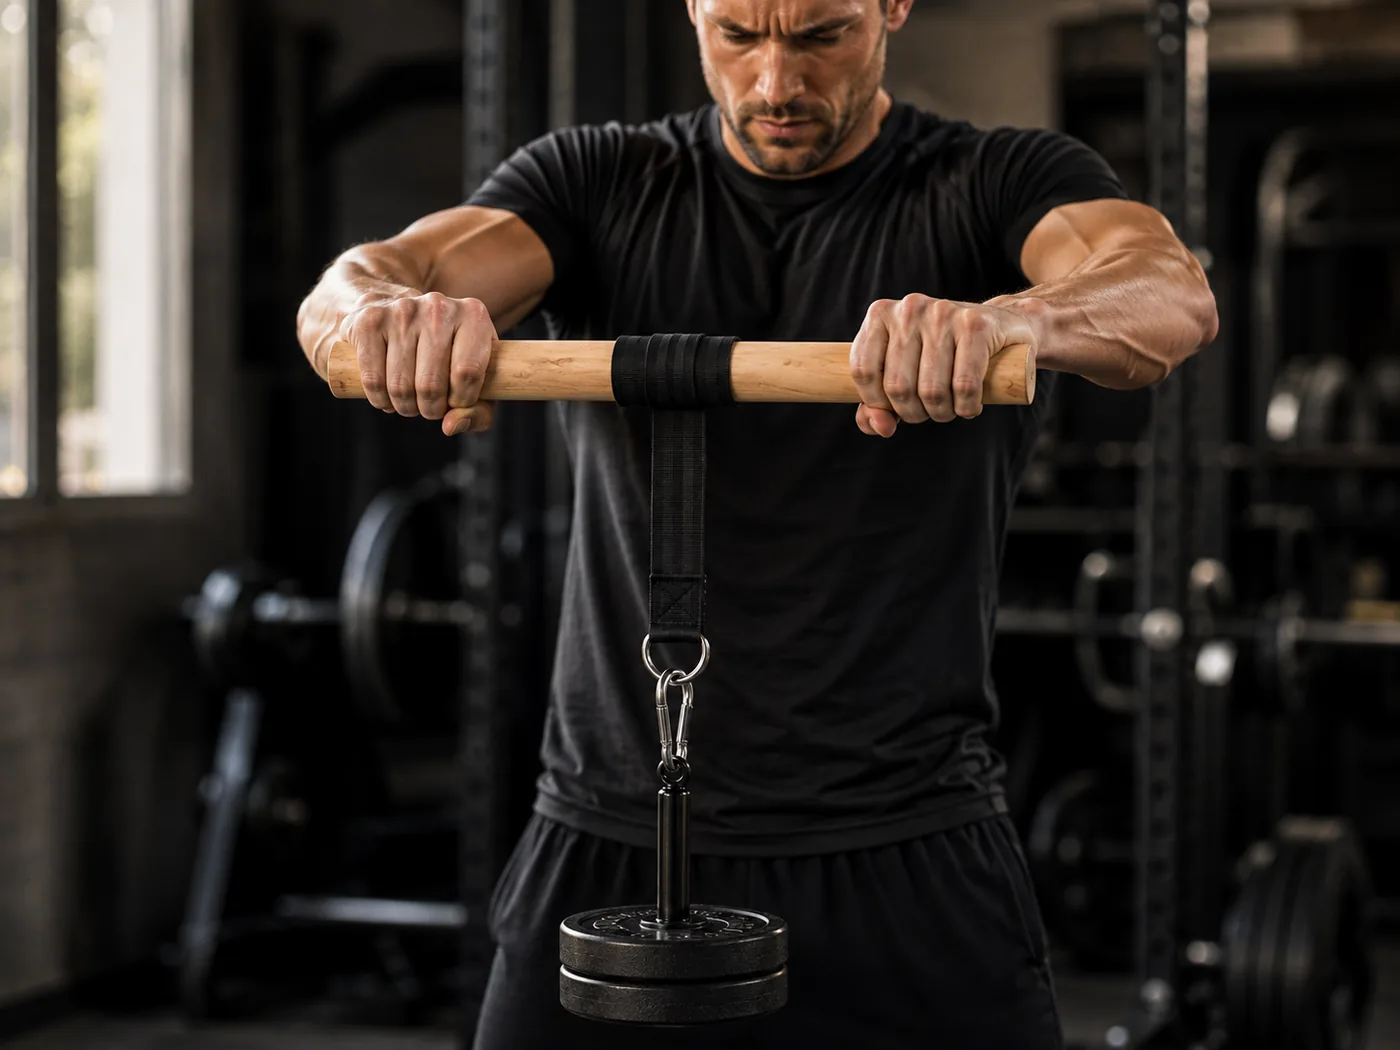
Clip your weight to the carabiner at the end of the strap. Plates ride best on a loading pin, a kettlebell clips directly by the handle, and in a pinch a loaded backpack works through its top loop. Start humble: 2.5 to 5 lb (about 1 to 2 kg) is the starting weight for almost everyone, because the leverage of a long handle multiplies how heavy the load feels at your wrists. Our full loading guide maps weights to levels.
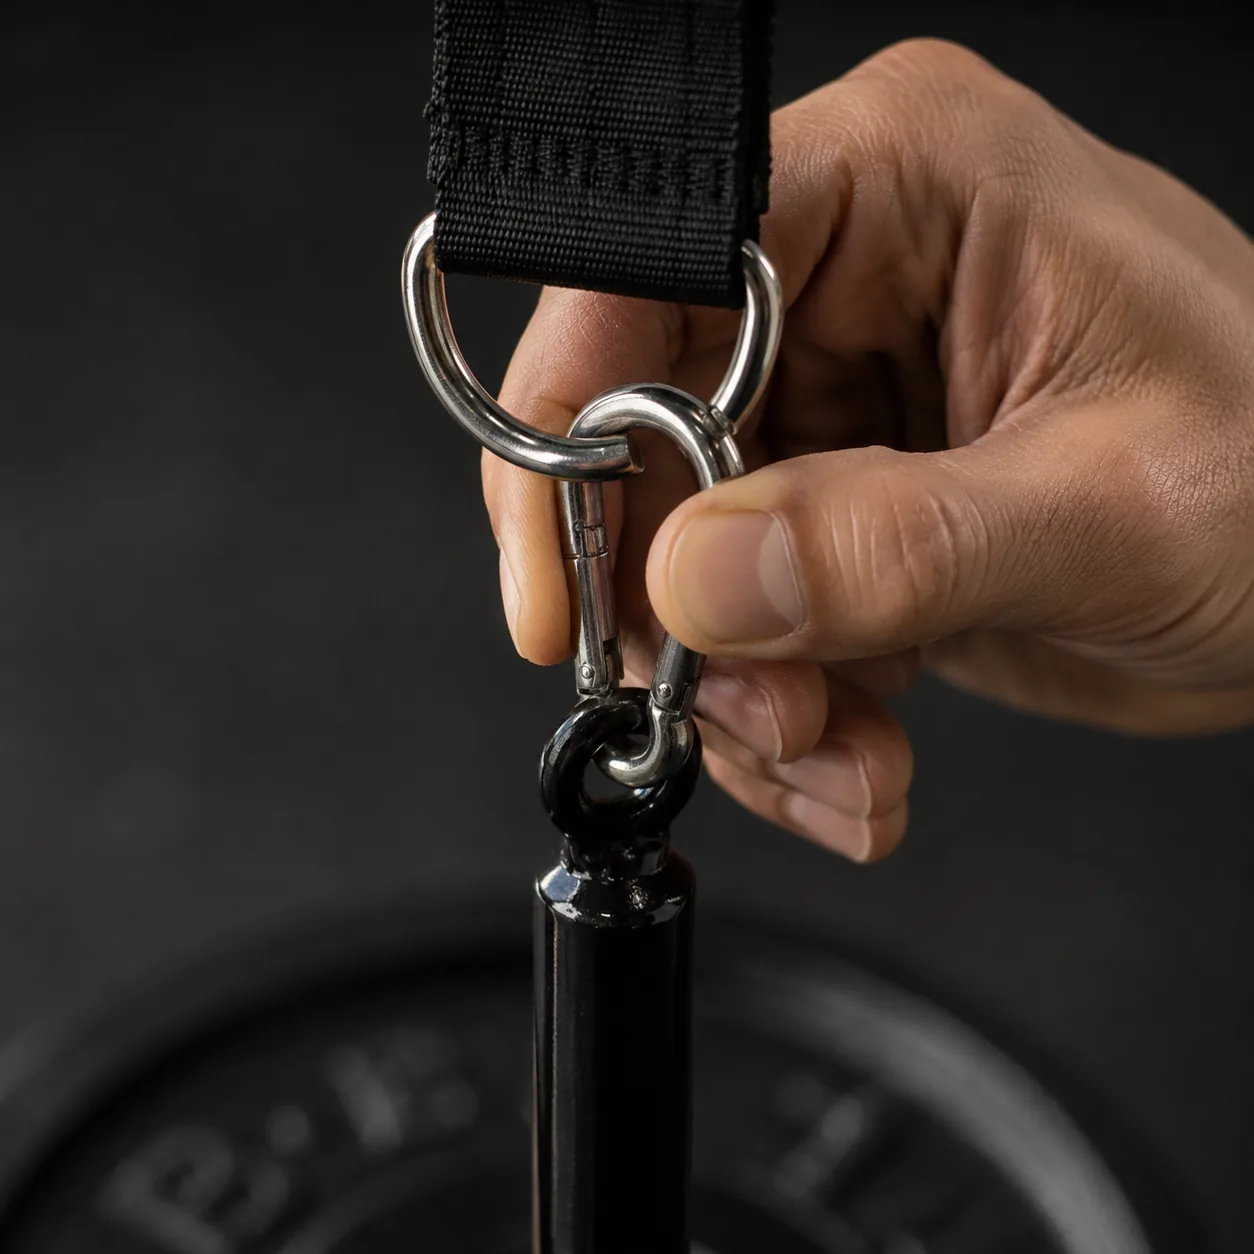
Step 2: take your grip
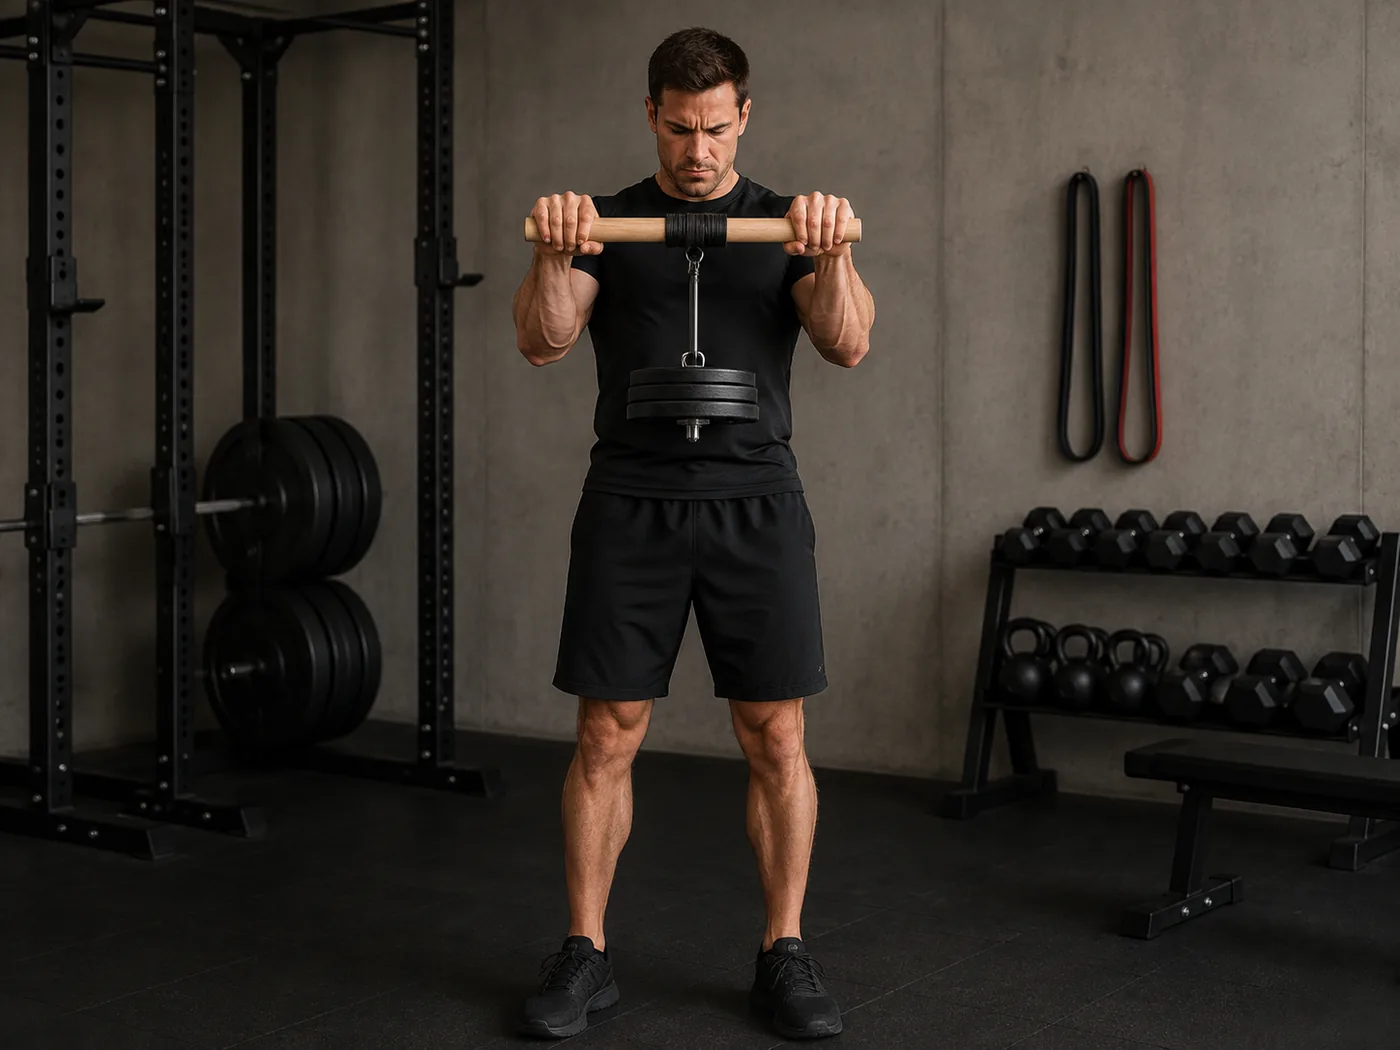
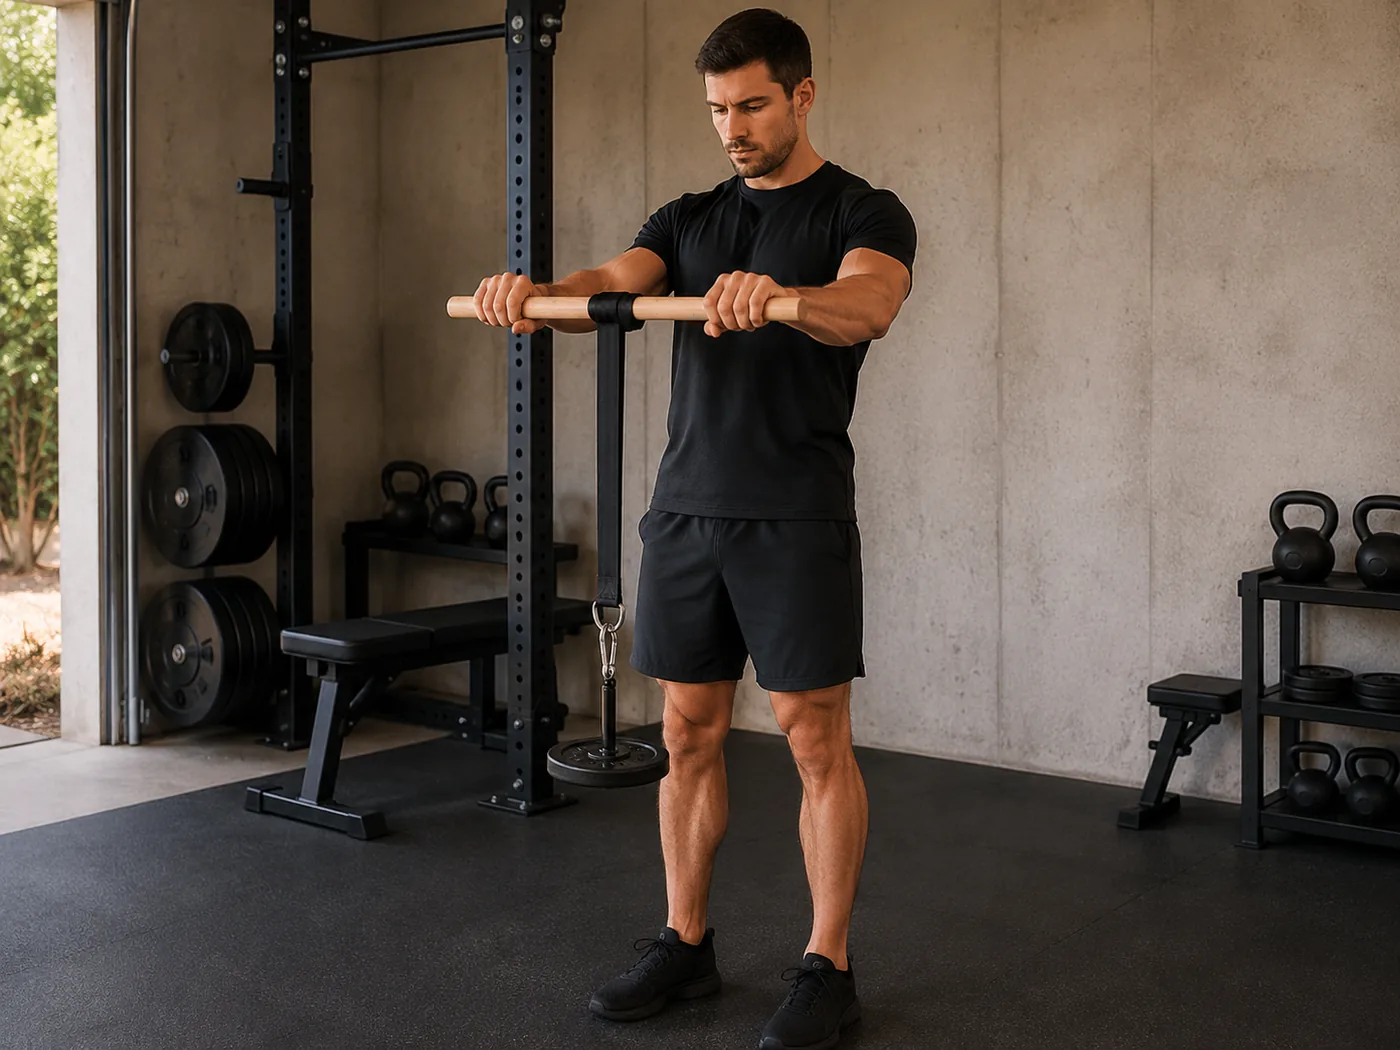
Both hands on the handle, palms facing down, hands a bit wider than your face. Knuckles point at the ceiling. The strap should hang from the middle of the bar, between your hands, with the weight resting on the floor. On a 15.7 in (40 cm) handle there is room to keep the strap centered, and a centered strap is what keeps the bar from tilting as you roll.
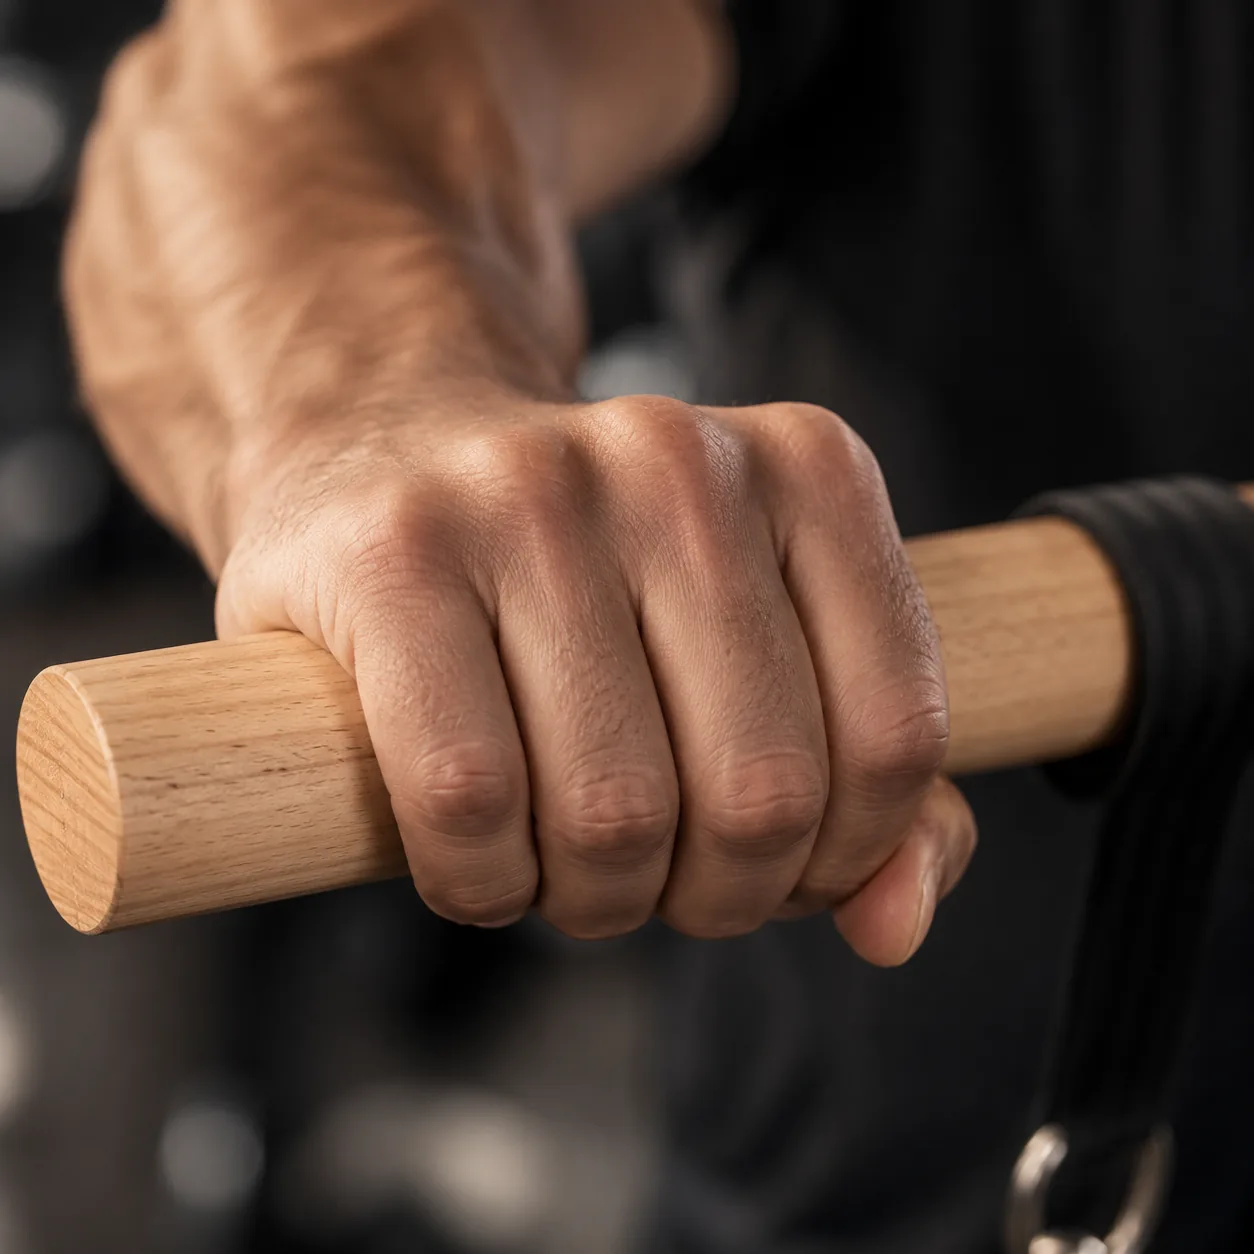
Step 3: pick your position
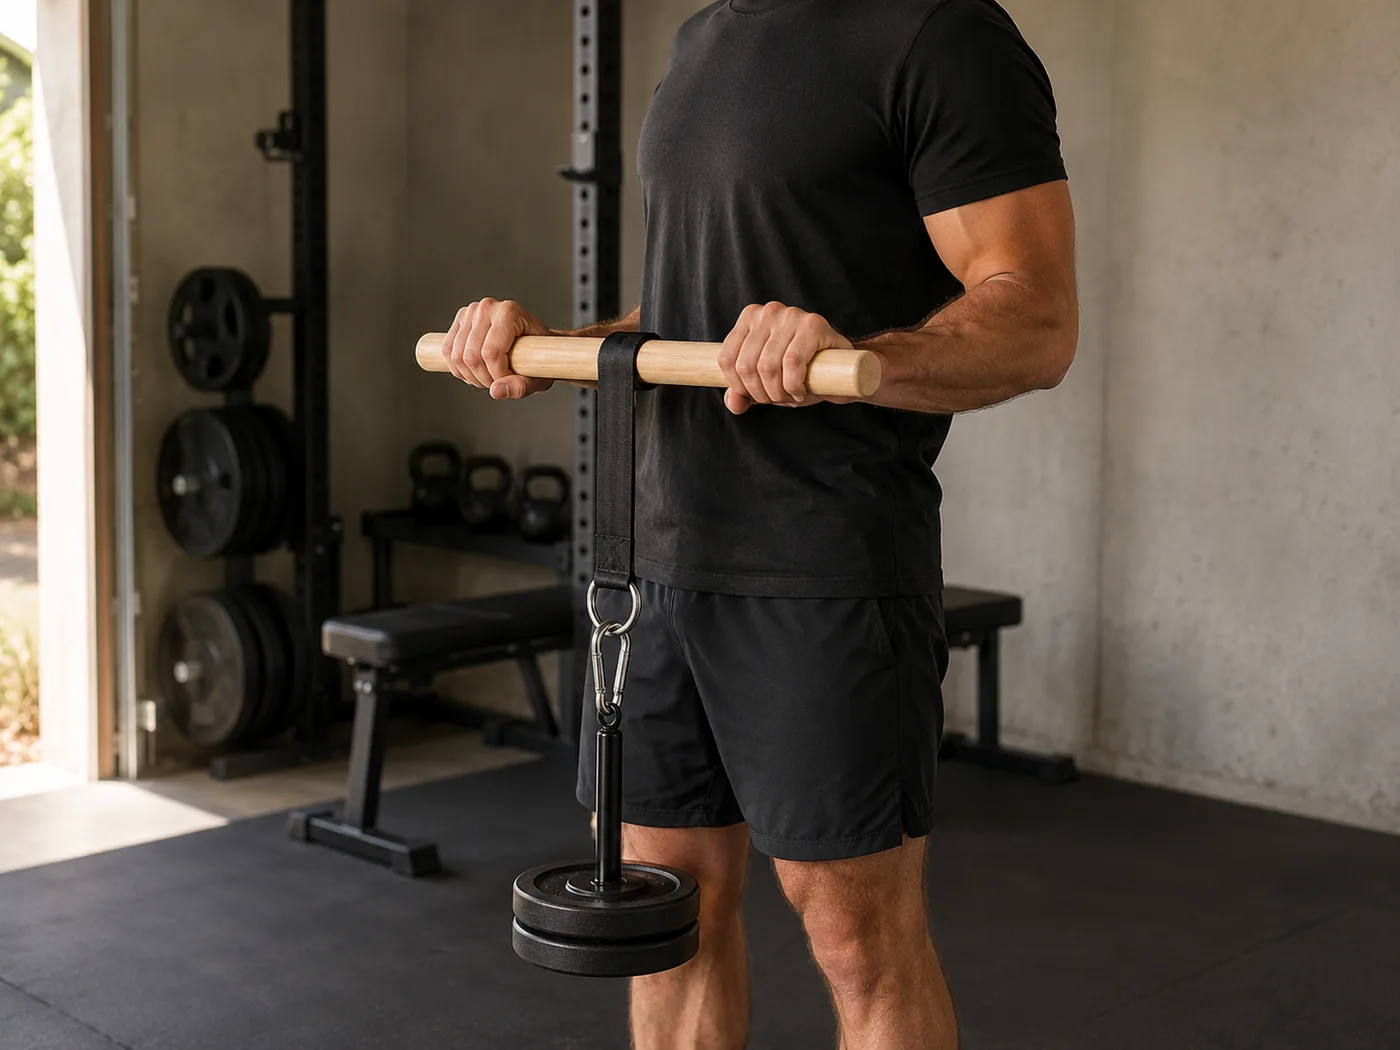
There are three standard body positions, and all three are legitimate. Pick by goal, not by habit.
| Position | How | What it adds |
|---|---|---|
| Arms extended | Bar at shoulder height, arms nearly straight | Shoulder isometrics on top of forearm work |
| Elbows tucked | Elbows at 90 degrees against your ribs | Pure forearm focus, no shoulder fatigue |
| Supported | Forearms resting on a bench or rack safeties | Strictest isolation, easiest on the shoulders |
Beginners usually last longer with elbows tucked. The arms-extended version is the classic for a reason, but your front delts will often quit before your forearms do, and the set should end at your forearms.
Step 4: roll up
Rotate one wrist over the other, hand over hand, winding the strap around the bar. Each rotation should be full: let the handle turn through your fingers to the fingertips, then close the fist and turn. Short, choppy half-rotations skip the finger work that makes rolling special. Keep your torso still. If the bar climbs because your shoulders are shrugging, the weight is too heavy.
Step 5: lower like you mean it
Unrolling is not the rest between reps. Reverse the rotation and let the weight descend one controlled turn at a time, resisting it the whole way. Muscles produce more force lowering a load than lifting it, which is why the descent is where much of the stimulus lives. If gravity is doing the unwinding for you, you are training half the movement. A useful cue: take the same number of seconds down as you took up.
The three mistakes that waste sets
First, going too heavy on day one. Wrist tendons adapt more slowly than muscles, and a fried wrist costs you two weeks. Second, only rolling palms down. Alternate with palms up between sets or sessions so the flexors and extensors develop together, as laid out in our workout routines. Third, treating it as a daily toy. Two or three loaded sessions a week is the dose that builds. The U.S. Physical Activity Guidelines (HHS, 2018) set the floor at 2 muscle-strengthening days per week, and forearms follow the same rule as every other muscle.
How long until you feel it?
About forty seconds, honestly. The pump from a single loaded roll is immediate and slightly absurd. Strength changes follow within weeks if you progress the load, and the carryover shows up first in deadlift grip and carries. When you are ready to structure it properly, the three routines here take the guesswork out.